“Oh no! The only copy of my important stuff is on that USB stick, and it’s broken! What now?”
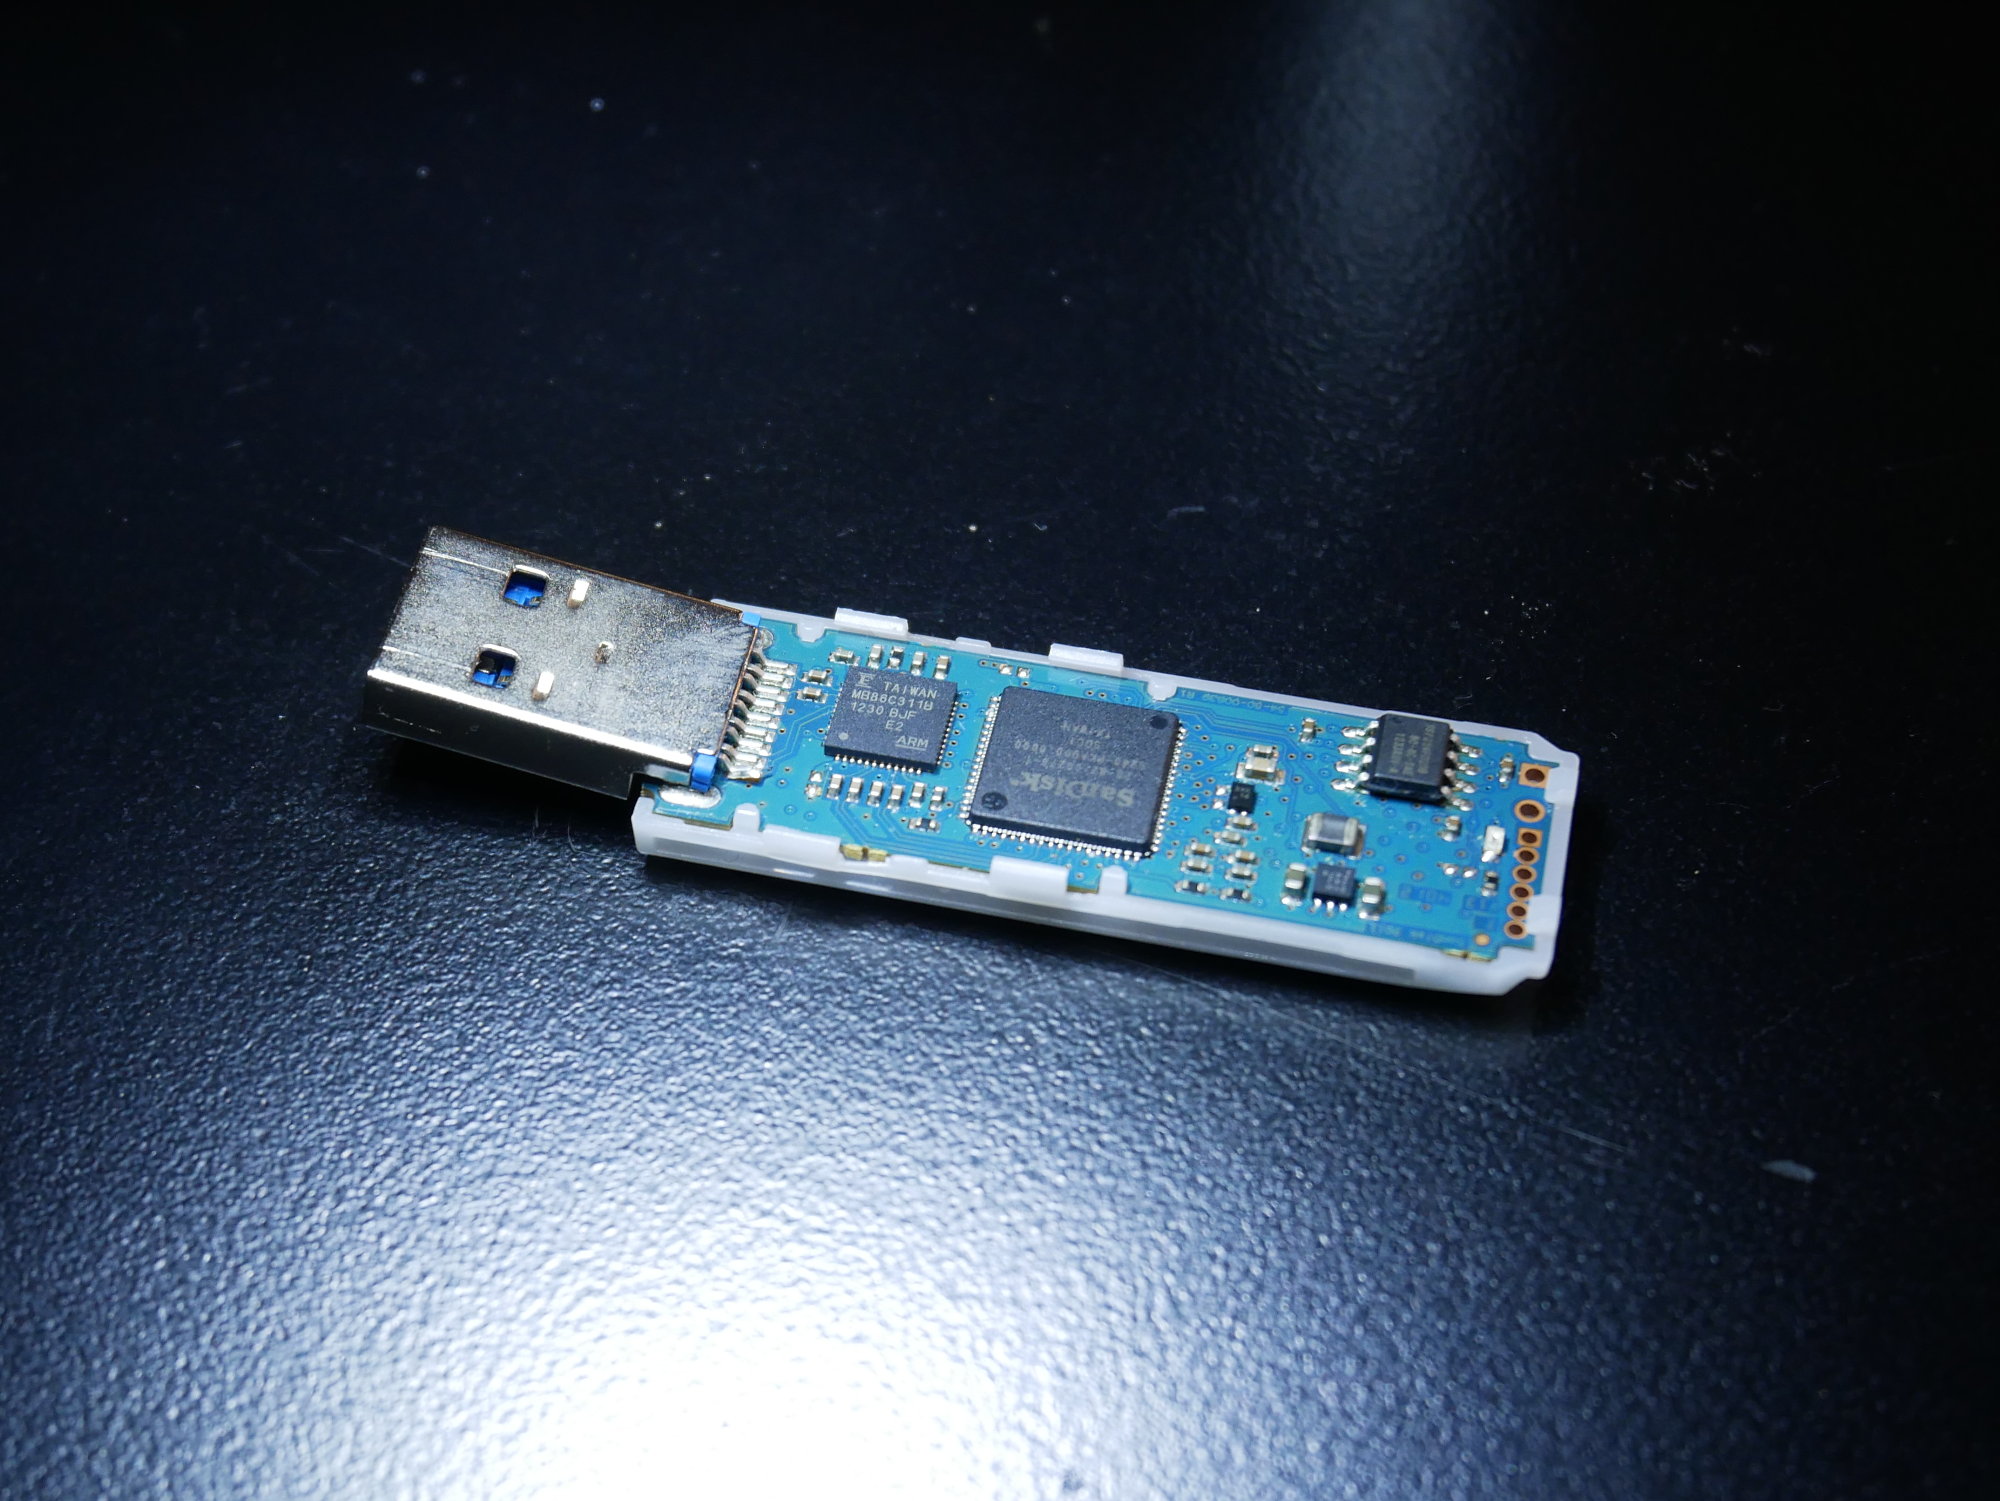
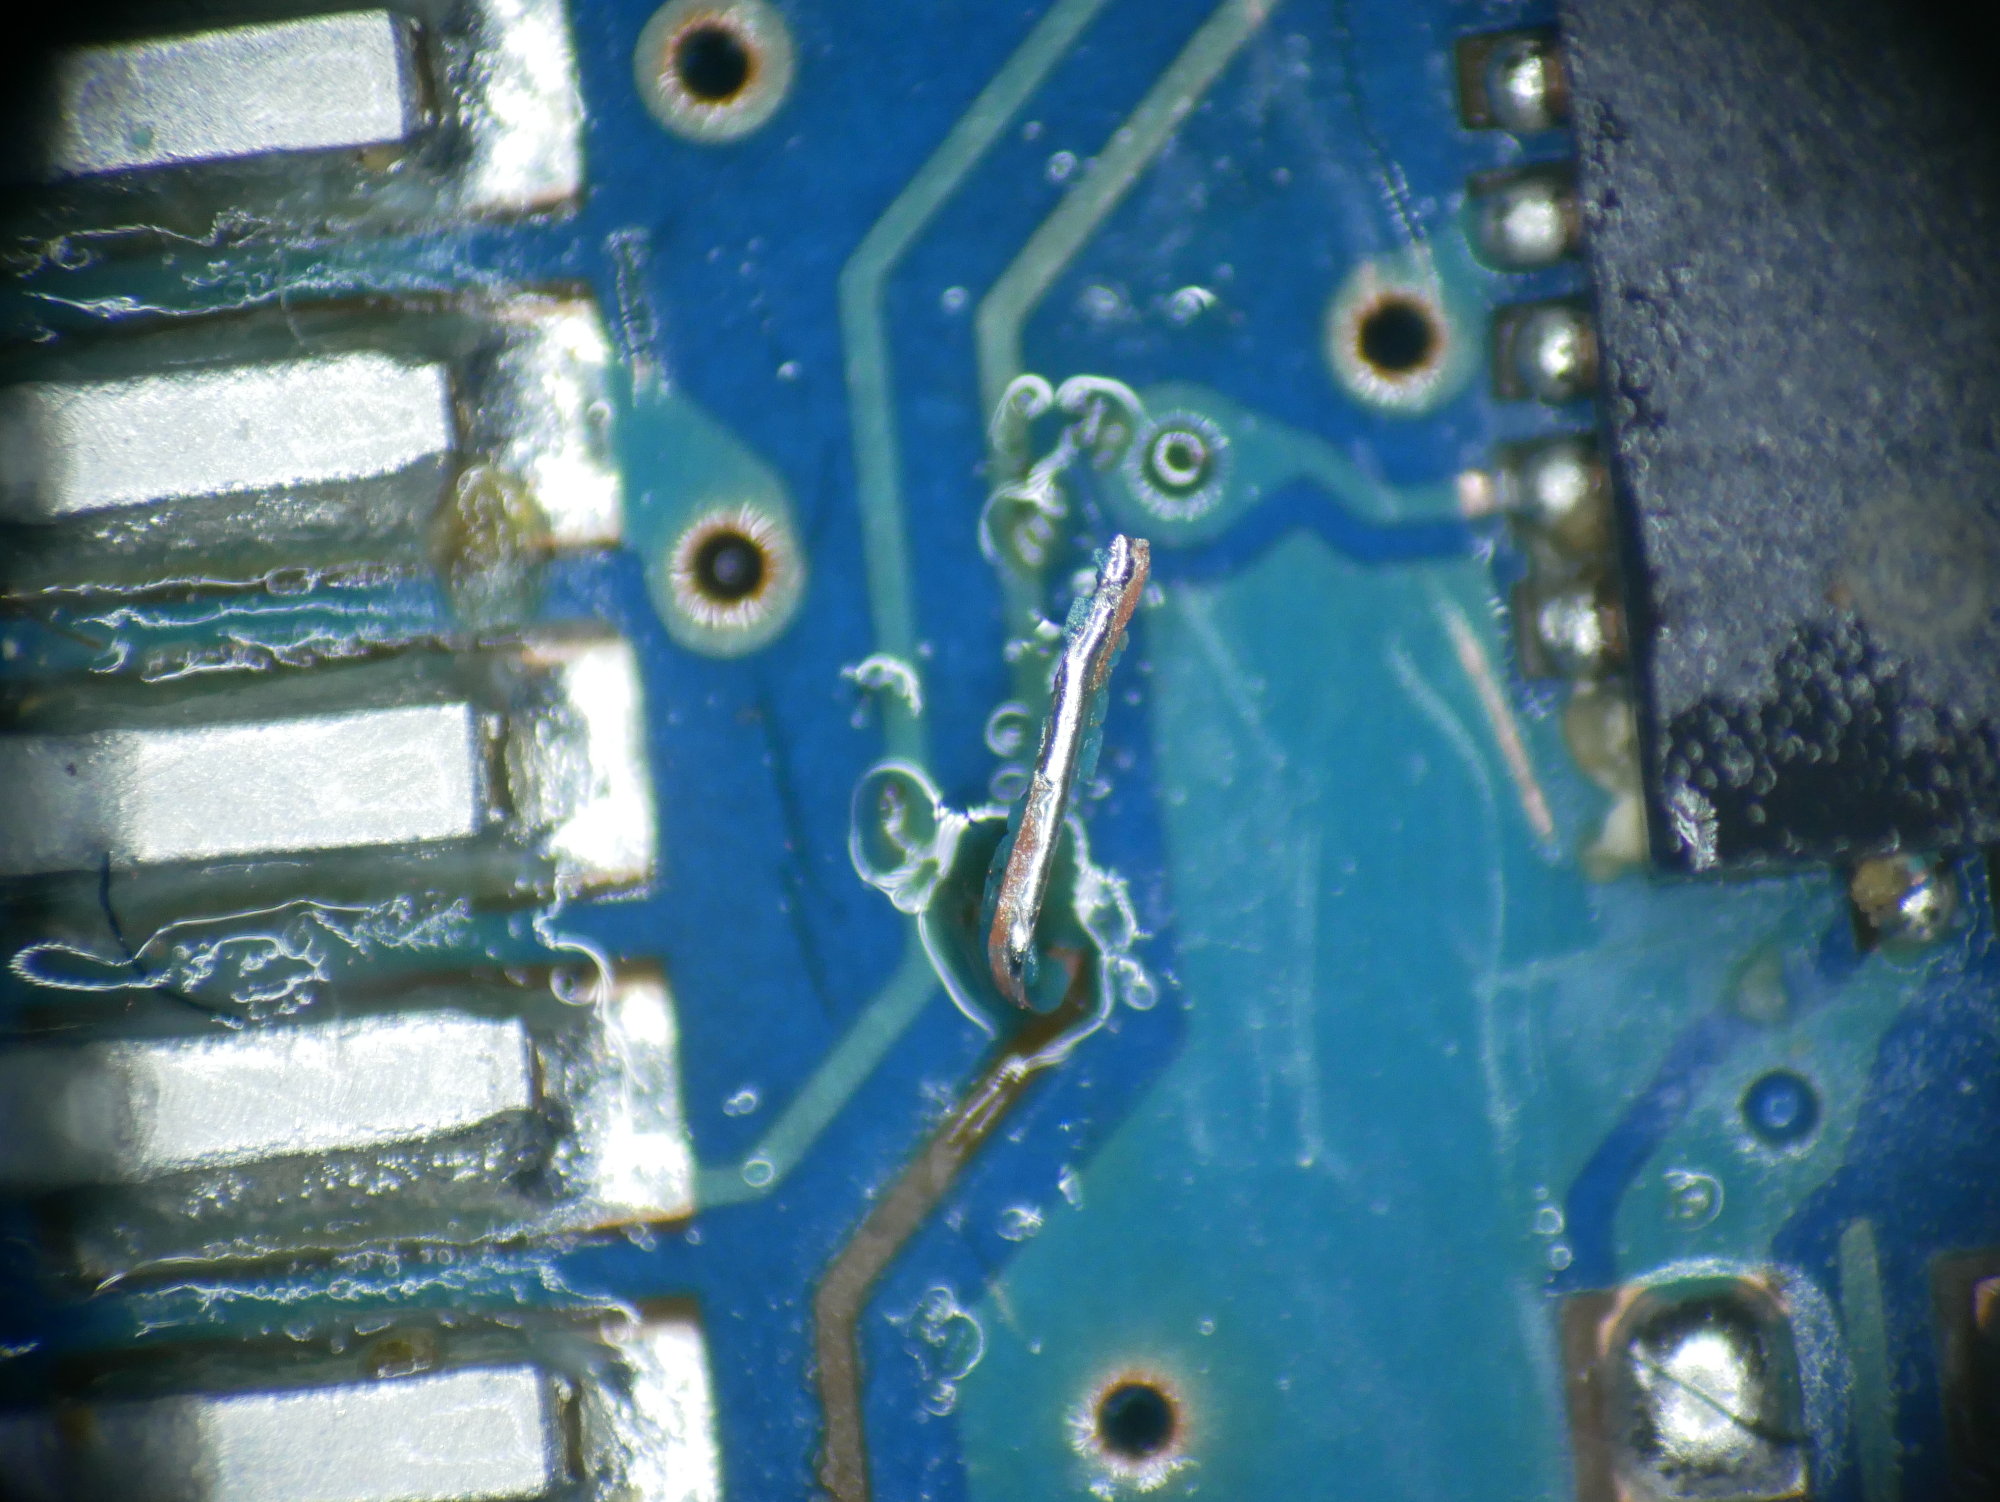
If you look at this photo closely, maybe you can already see the damage. On first glance, the pin has just come off the board, we can just solder it back on, no big deal, right?
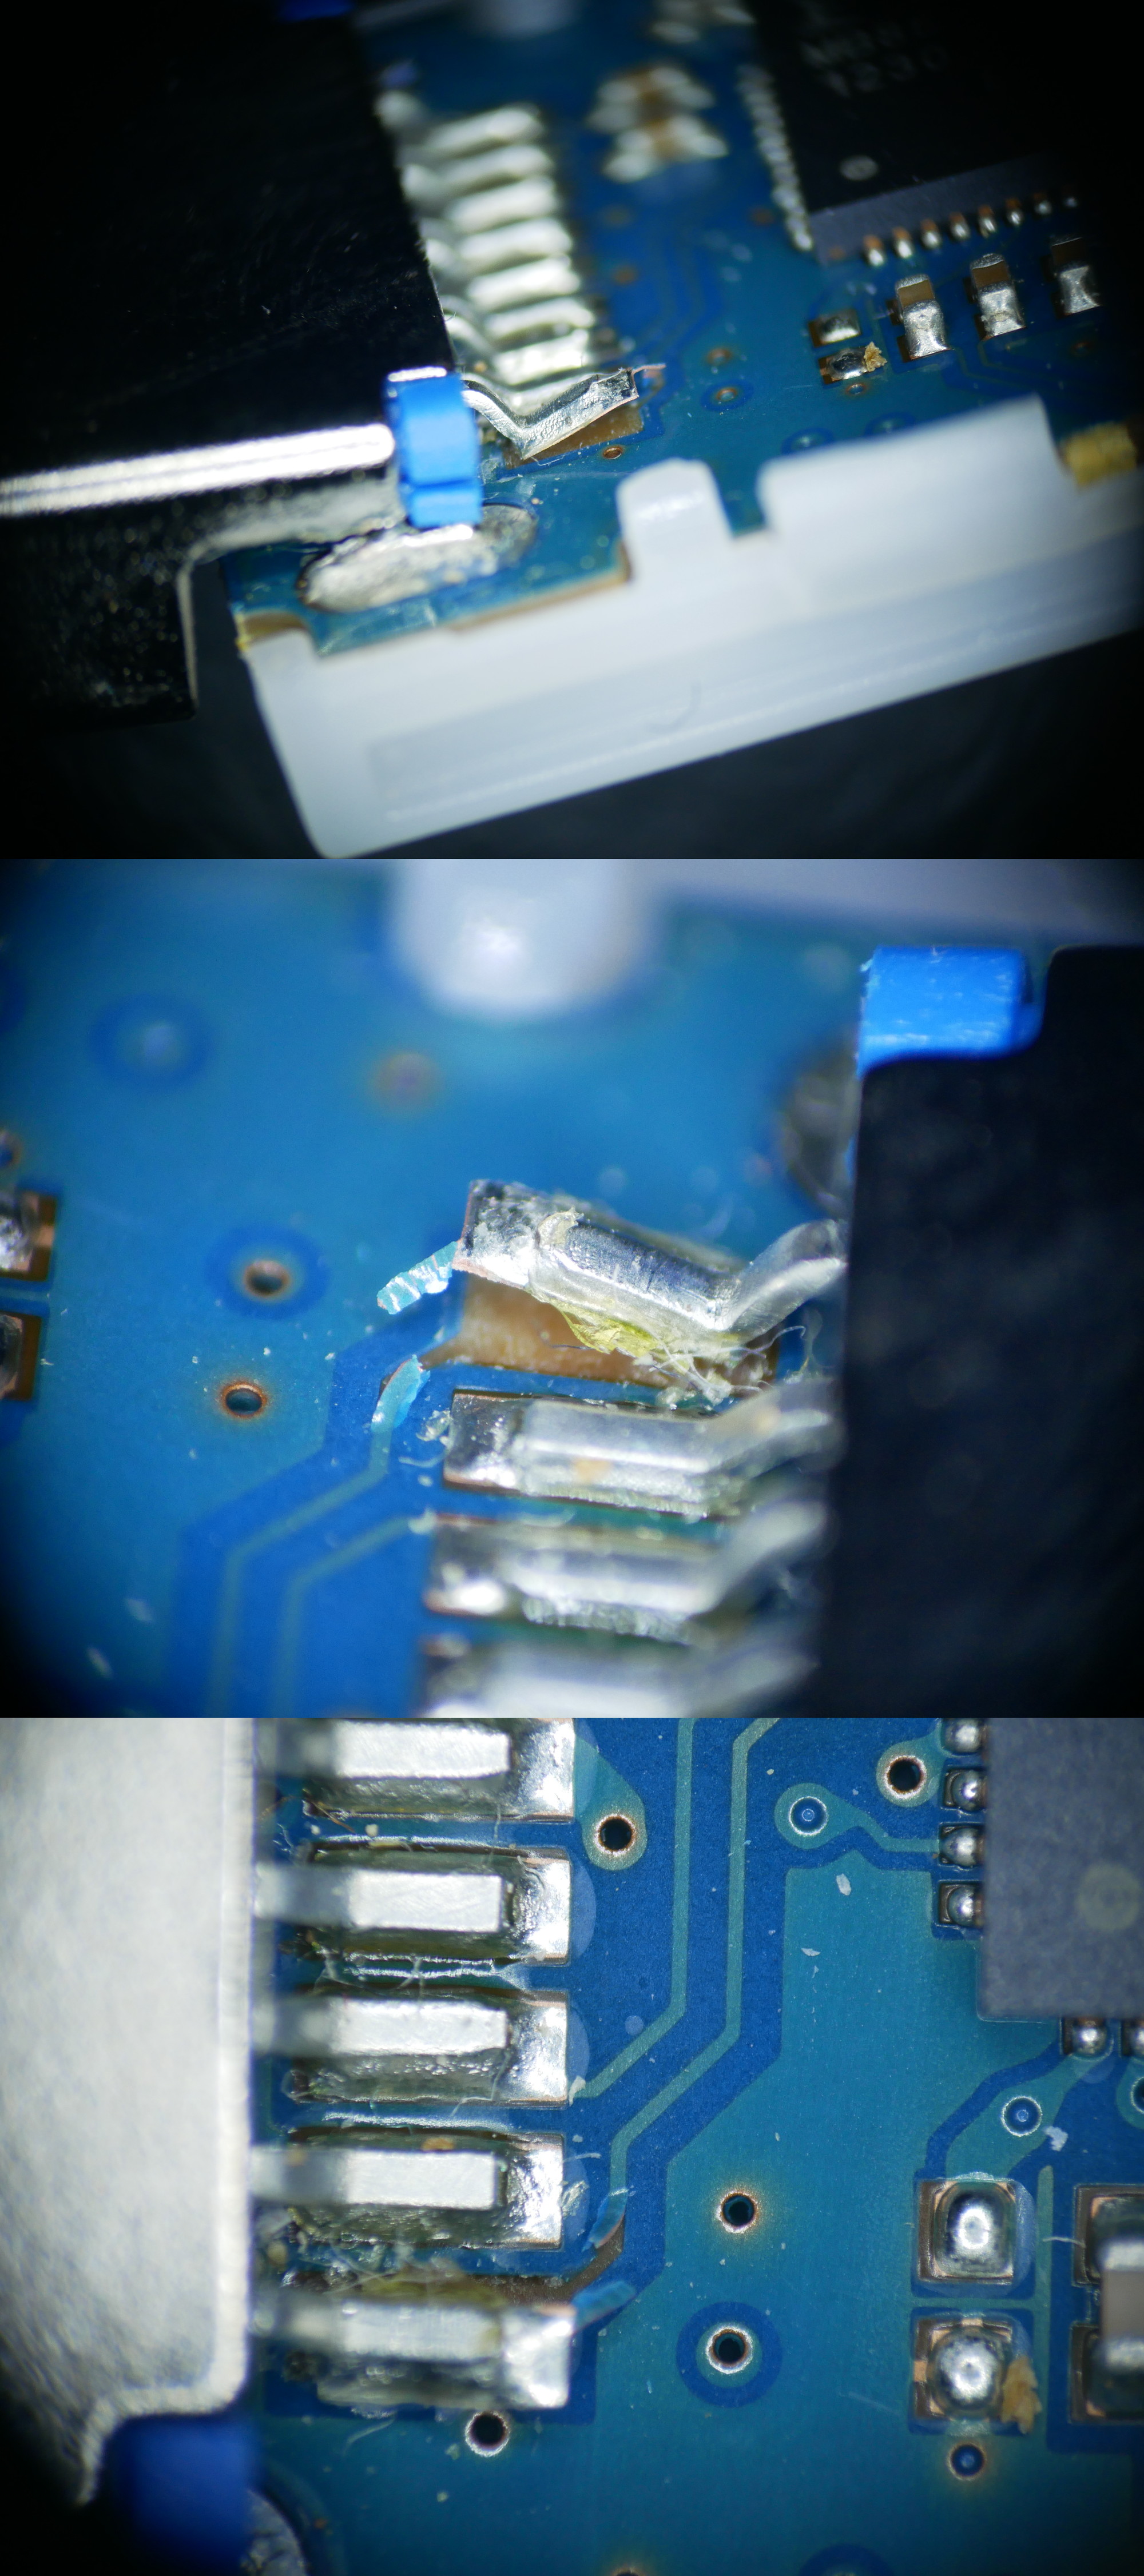
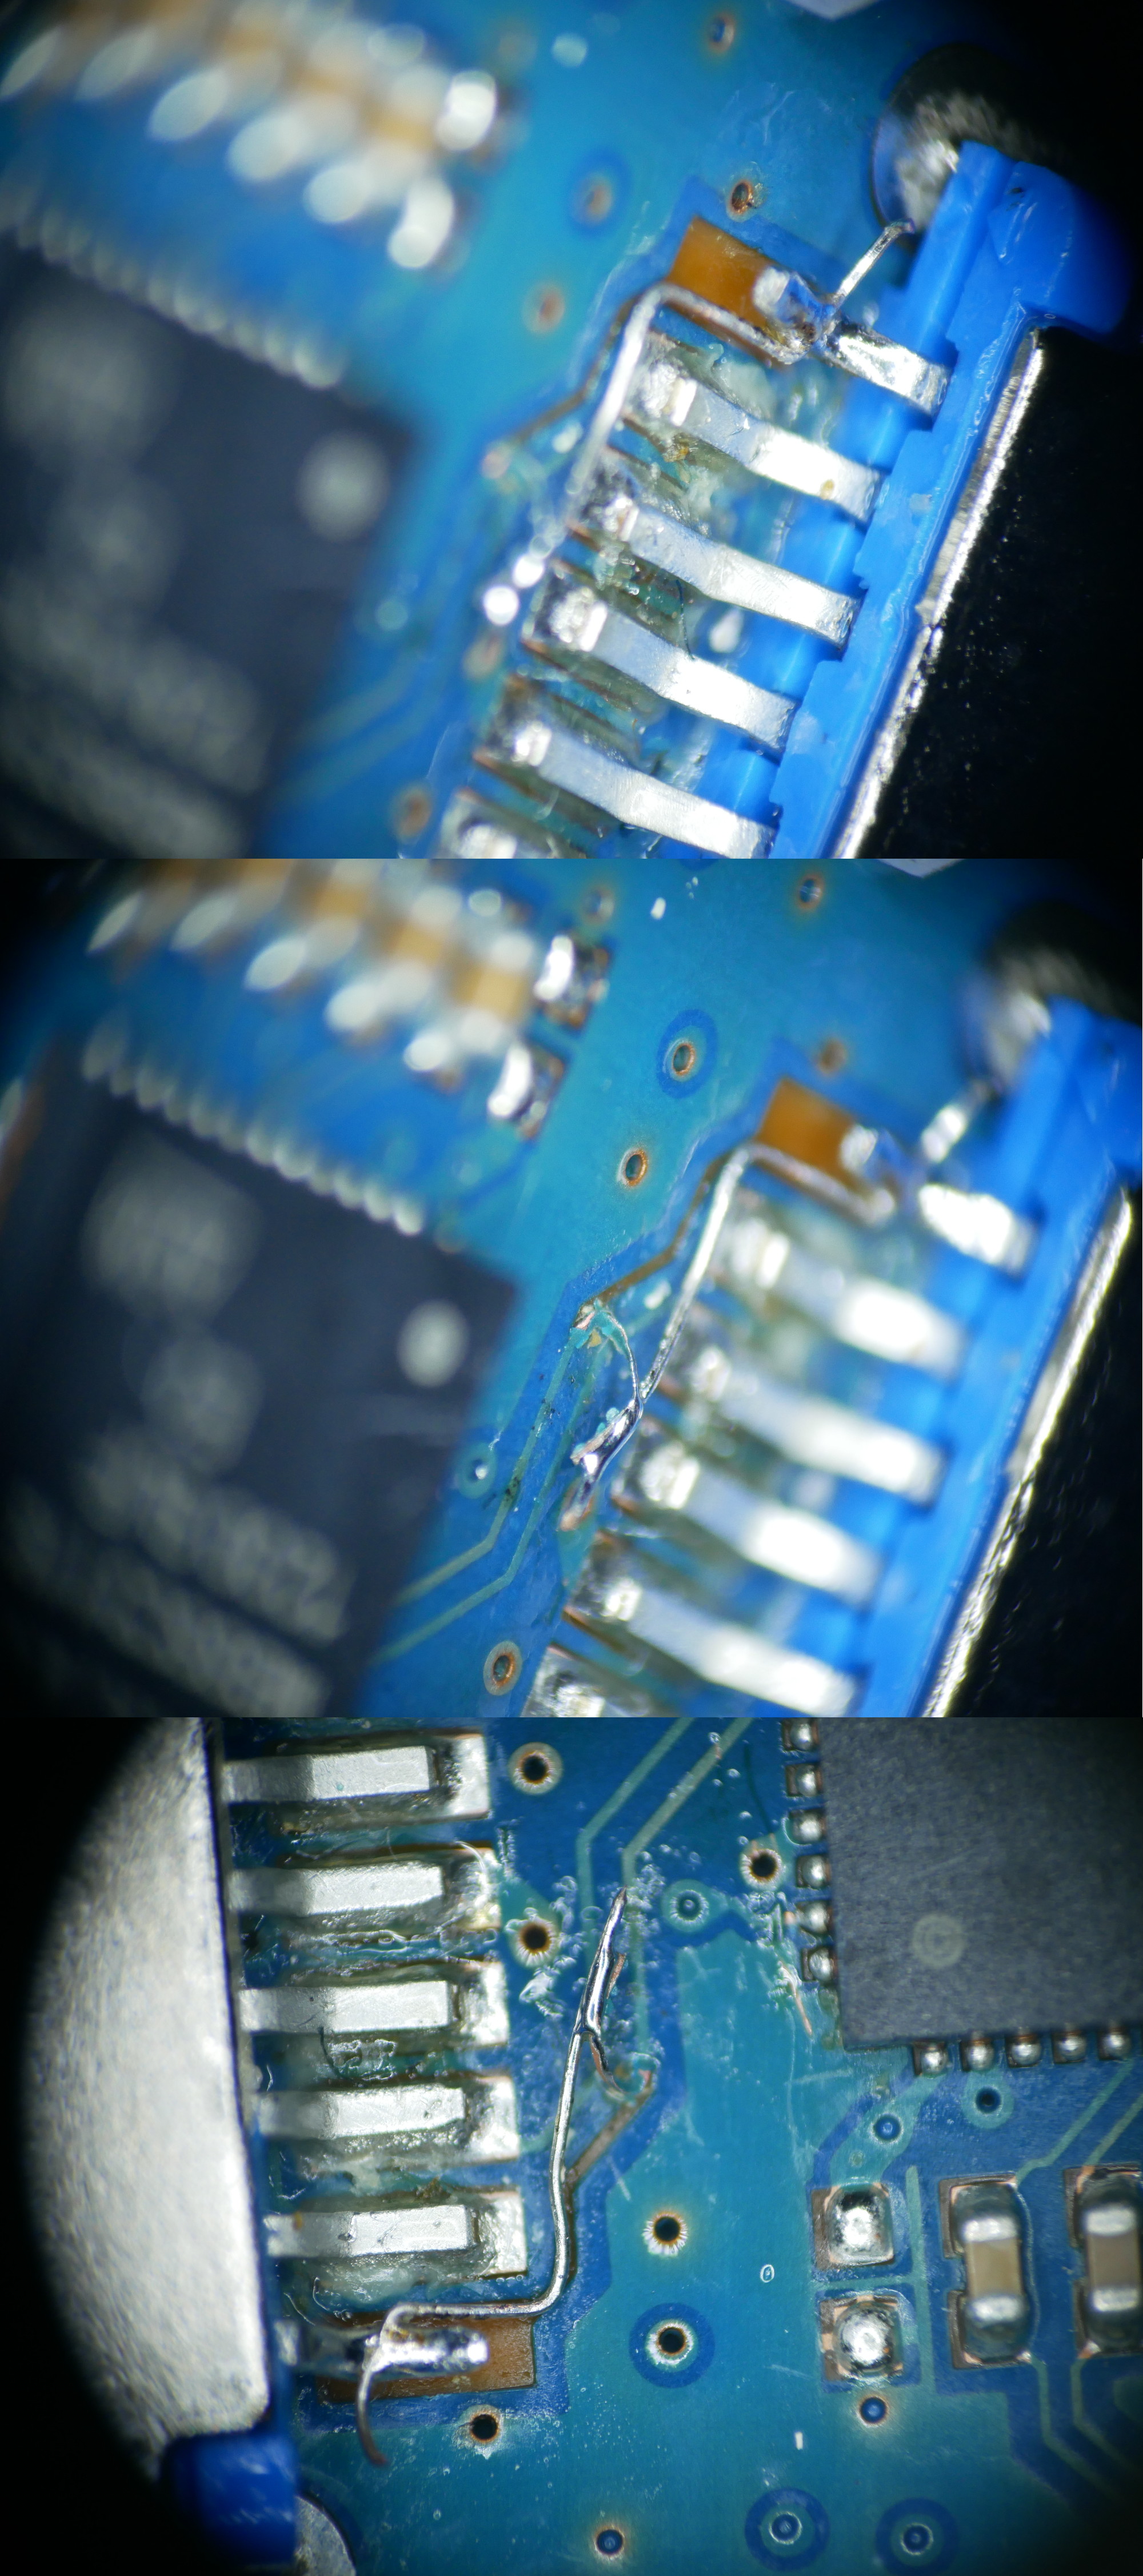
Nope - closer inspection under the microscope reveals that the whole pad has come off the board, including part of the trace leading to it.
So here, the fist things to do would
- don’t panic
- and don’t try to fix what’s not broken.
Obviously it is broken, but what pin of the USB connection is it, anyway?
A quick check with the continuity buzzer confirms it’s not one of the four “important ones”, i.e. those that are needed for USB 1.1 and 2.0 connections. This means the data are still accessible, just not over USB 3.0. Using a USB 2.0 extension lead I made sure the computer didn’t try to connect to it using USB 3, and dumped the data off of it.
Now, with the data safely backed up to the laptop, I could try and find out if I could actually fix the broken pin. Of couse it would only be a temporary fix - well, originally I had intended to patch the trace in order to be able to dump the data at all, so now after finding out I could dump the data without fixing the trace, it had become kind of pointless. But I still wanted to practice my soldering and just see if I could pull it off.
Soldering a wire to the pin of the chip on the other end of the trace would probably be a little small for what I can do, but using a pair of tweezers, I could pull off more of the damaged trace from the circuit board.
I scratched the underside of the trace clean with the tweezers, and with some extra flux added, I managed to tin it.
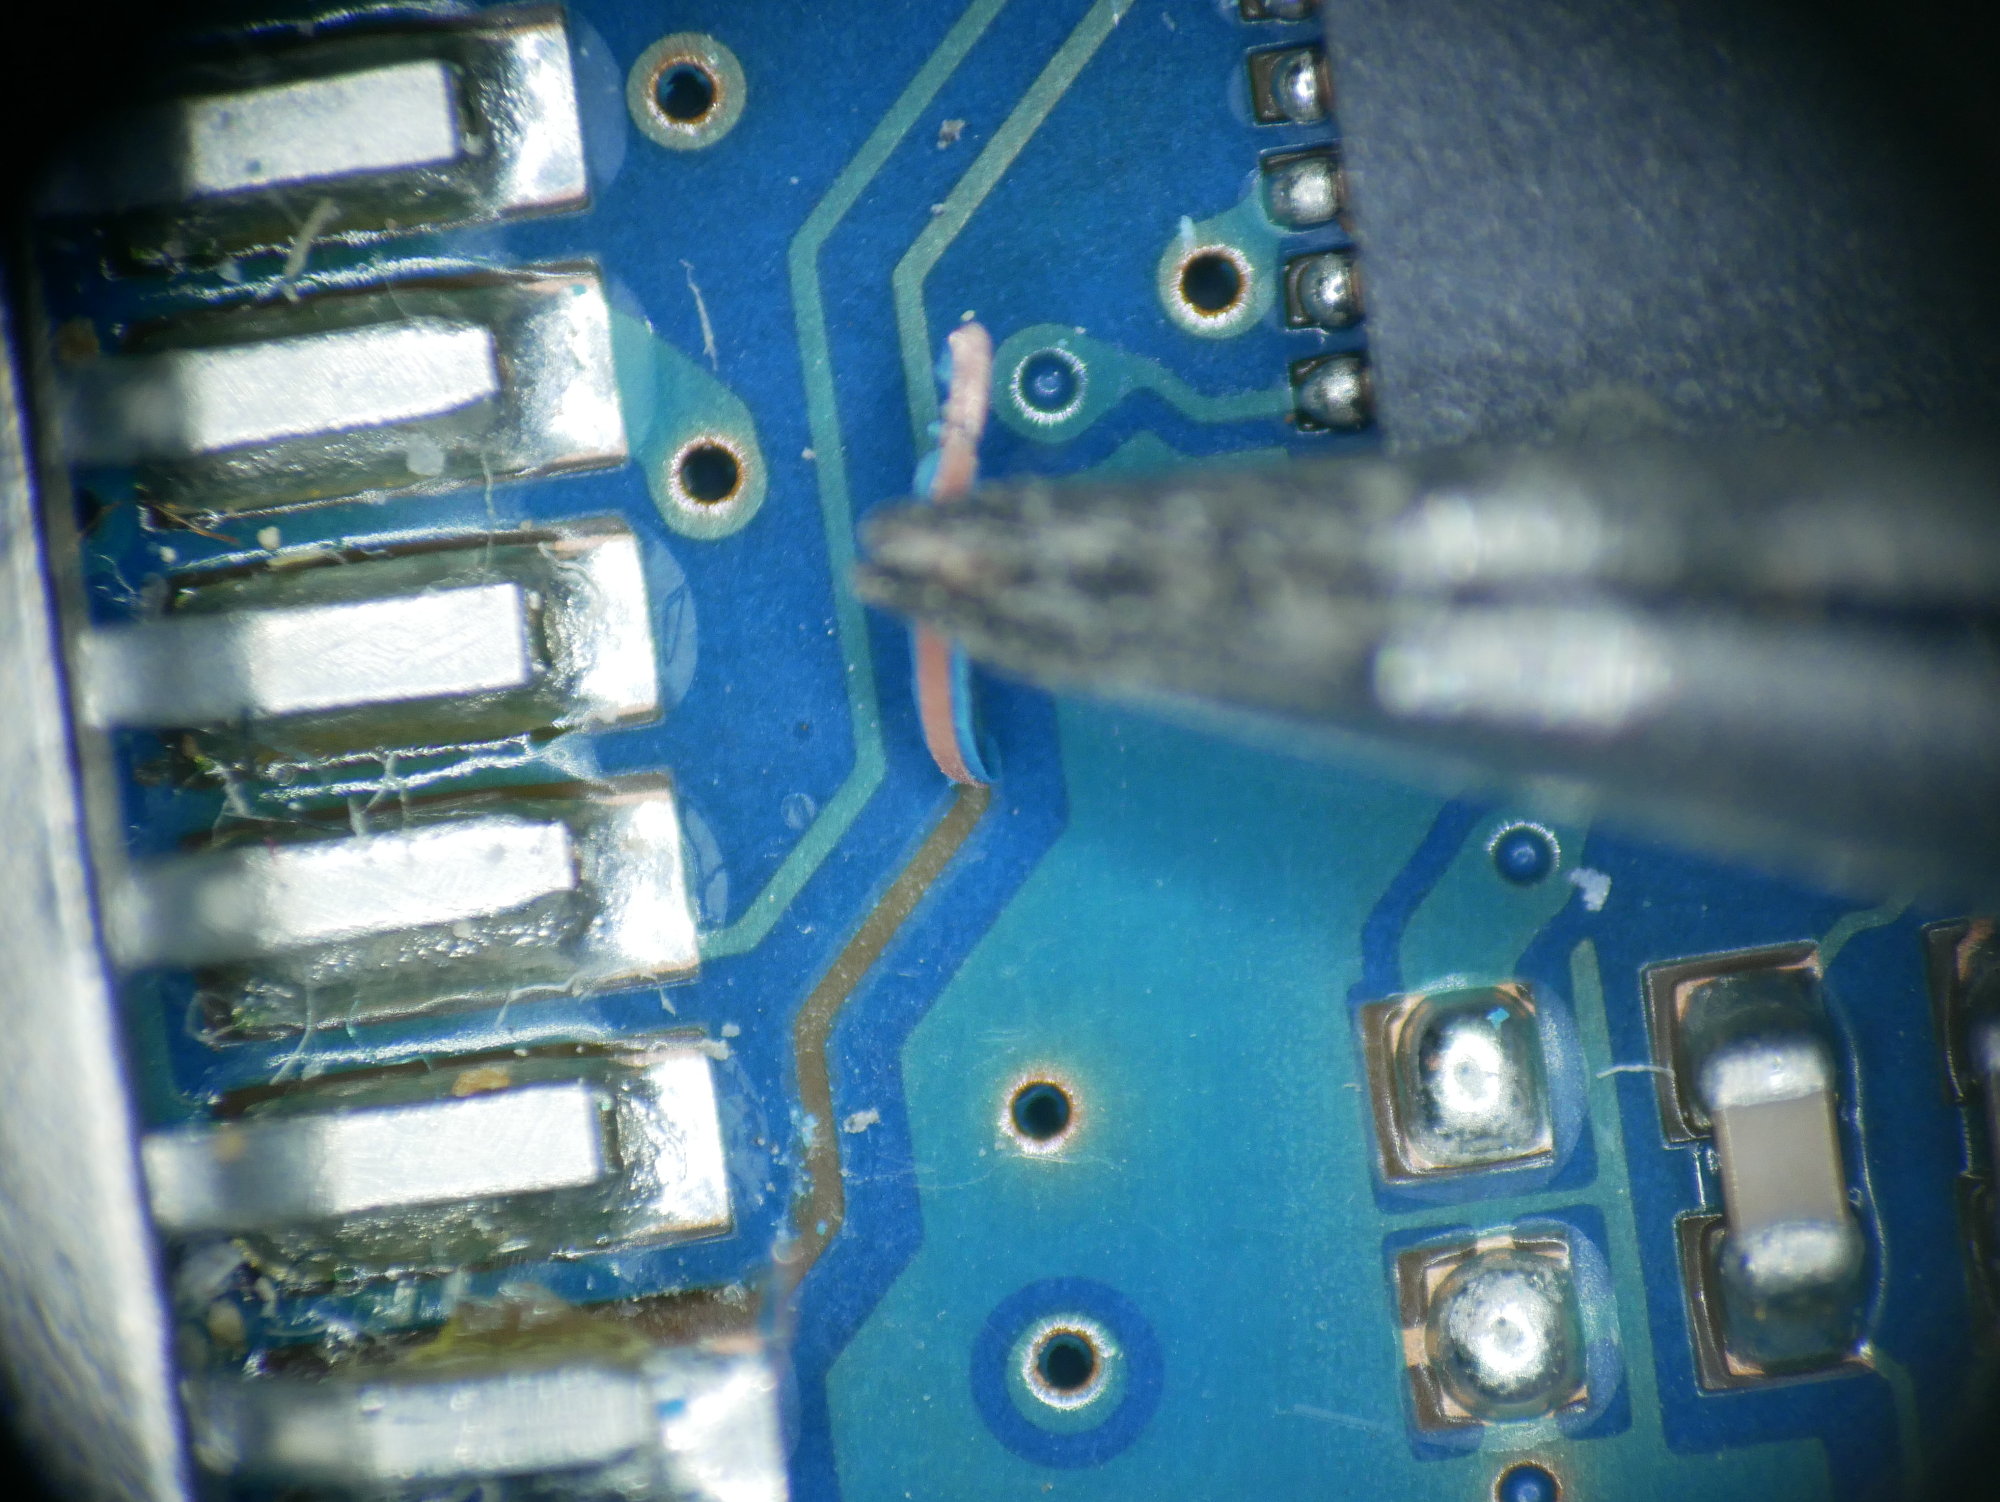
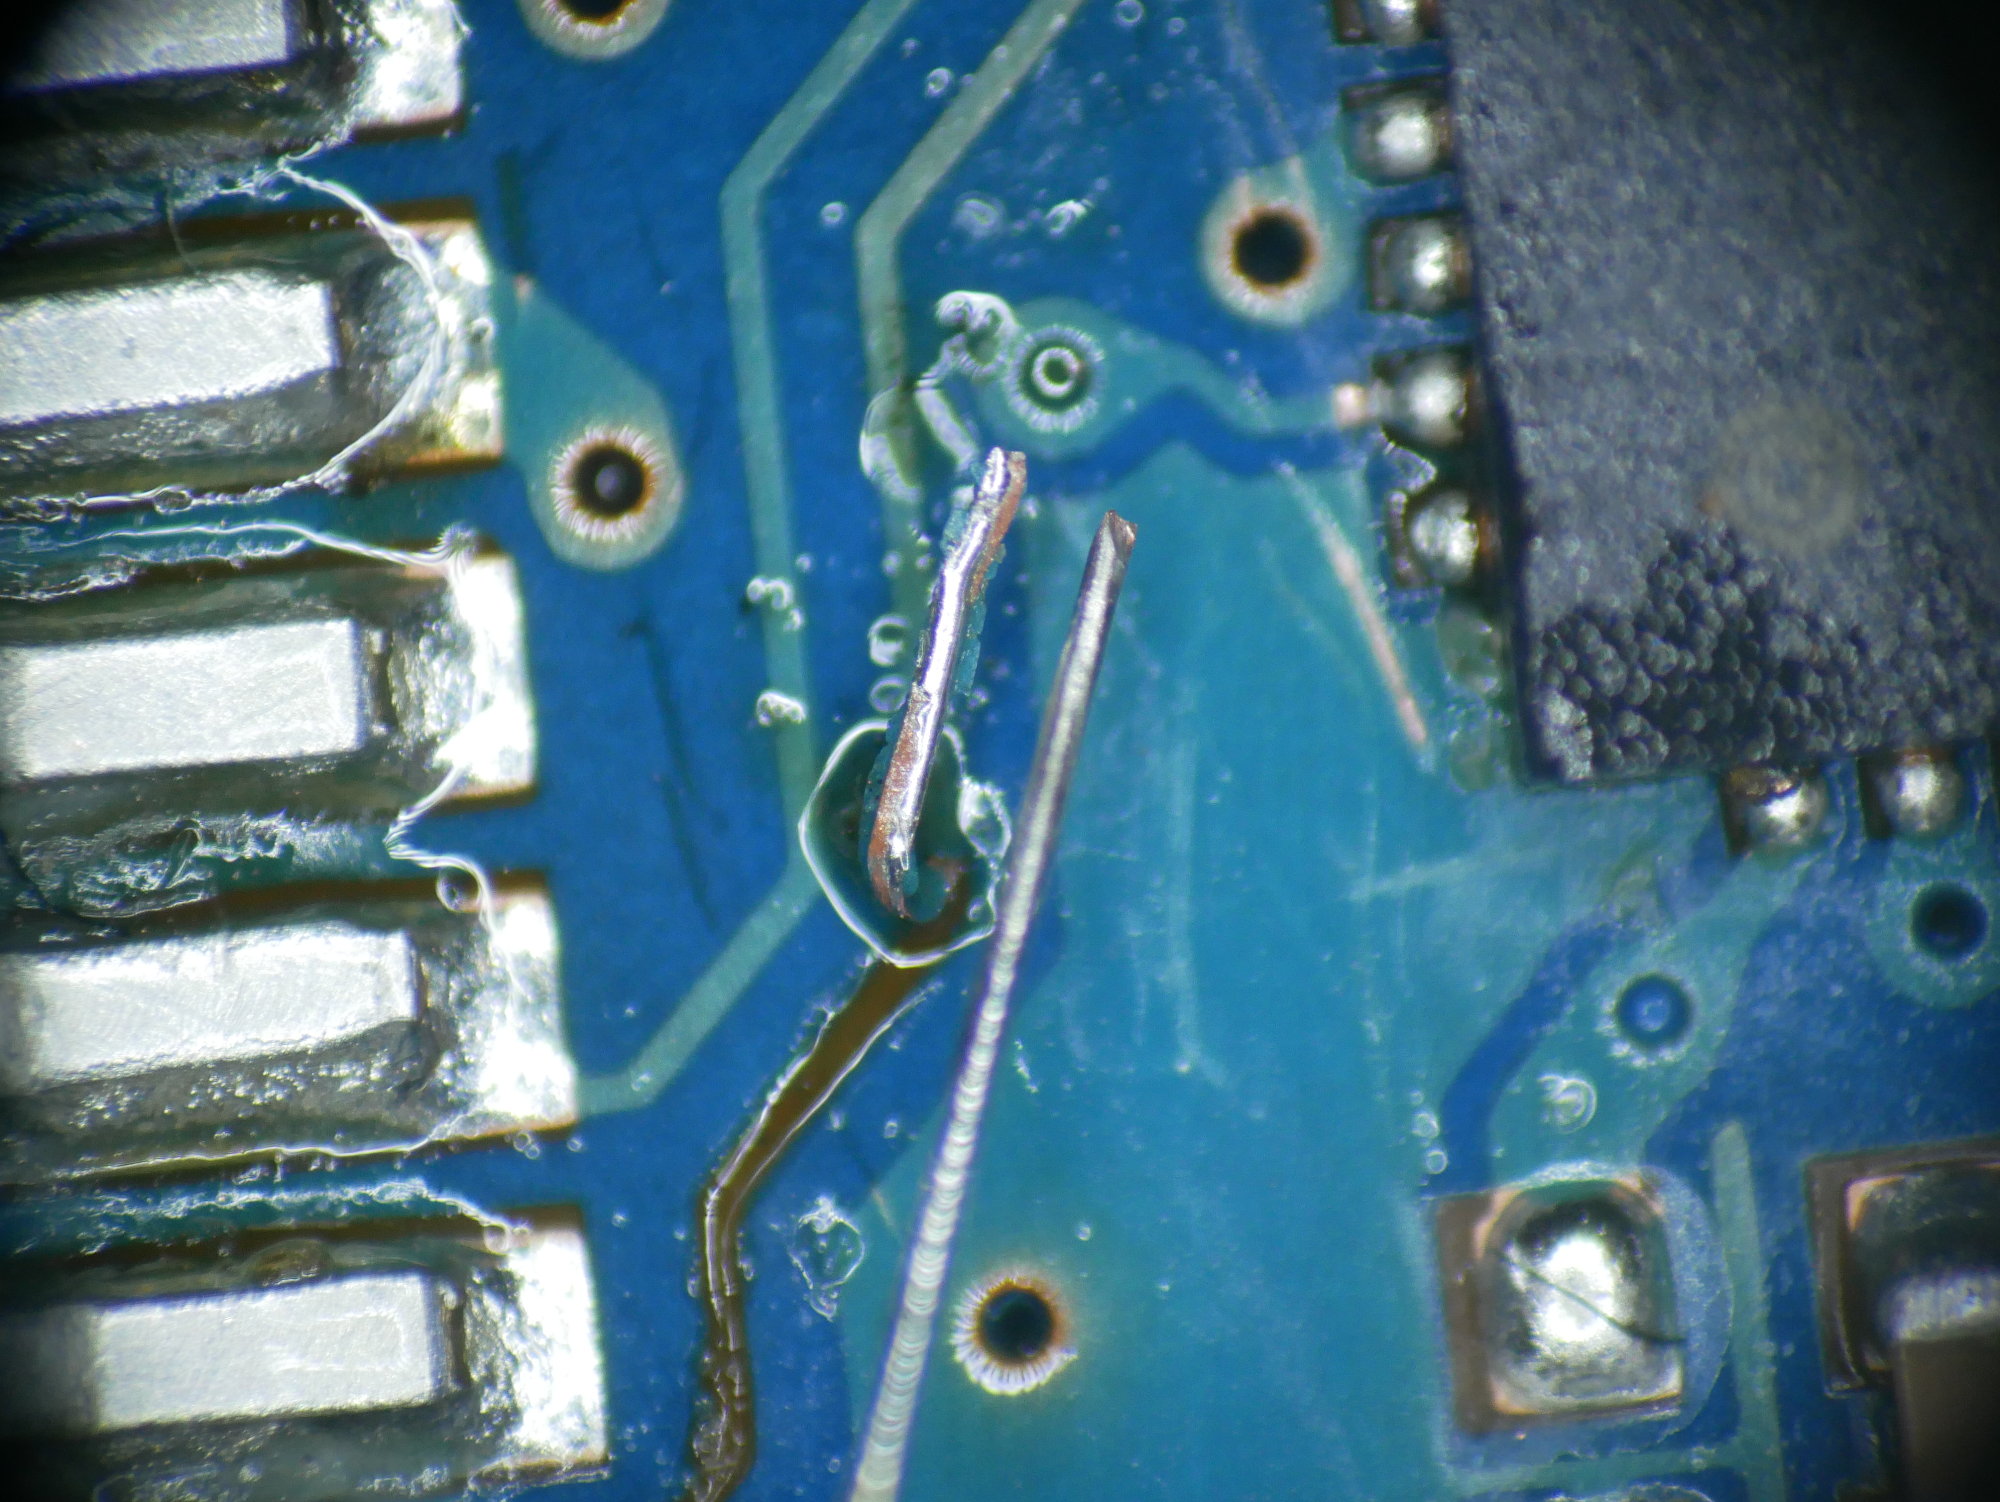
Next I needed something to patch the trace with. I found a piece of ribbon cable, from which I pulled out one single strand from one of the wires, and tinned it. Here it is for size comparison:
Using the soldering iron, I removed what was left of the pad and trace from the pin on the USB plug and tinned it with some fresh solder and soldered the wire onto it. Then I bent the wire into the right shape, so that it would just touch the lifted part of the trace.
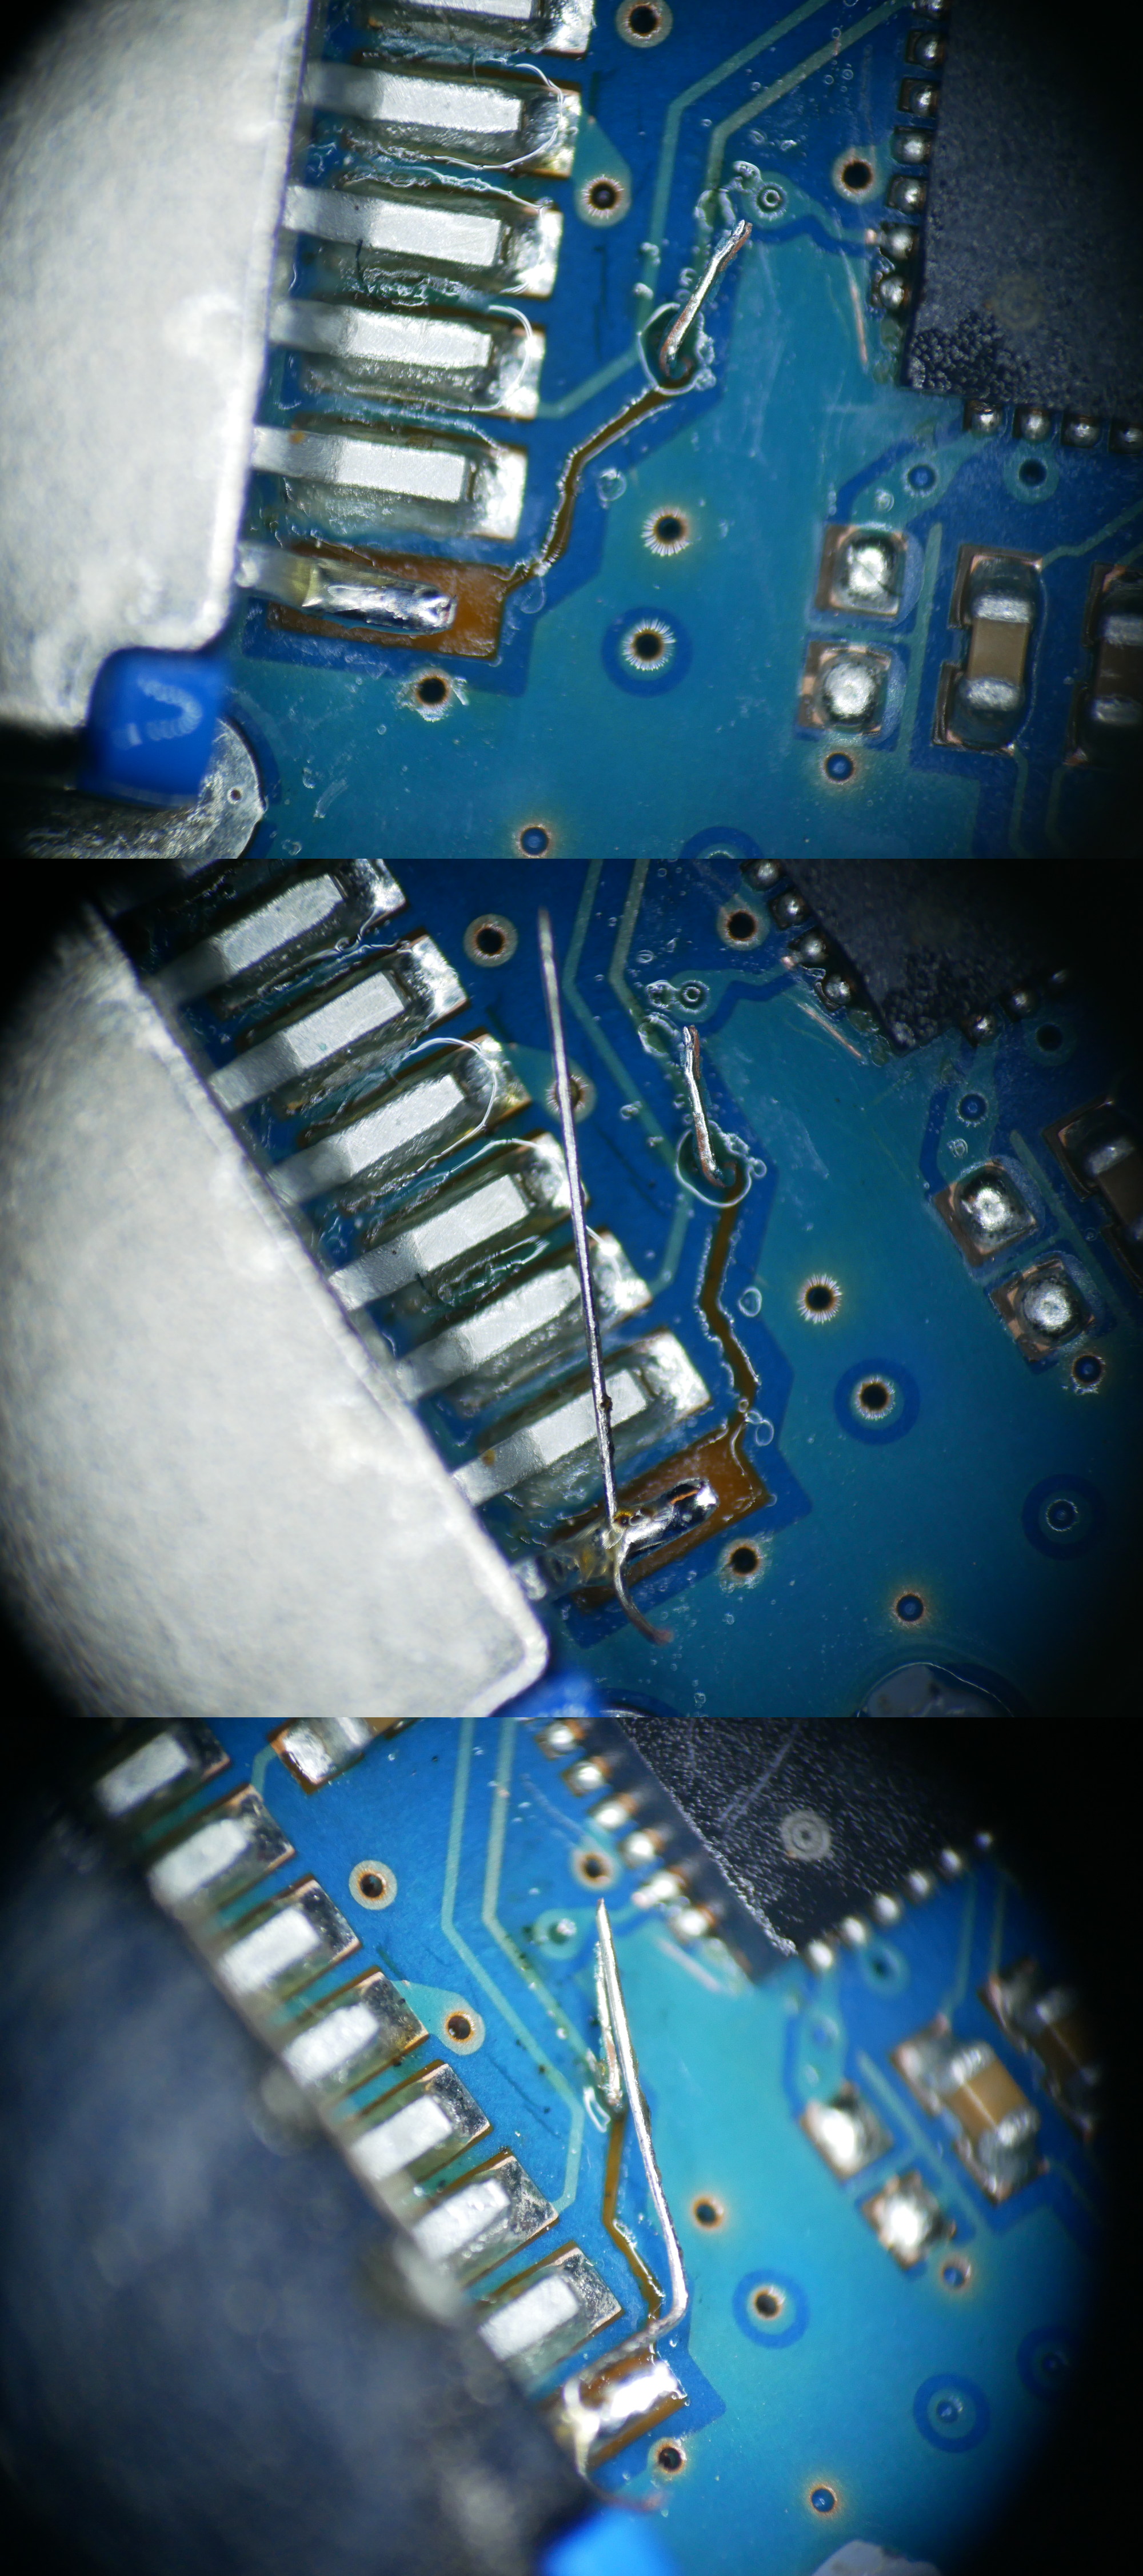
On to the final step: soldering the lifted trace and the wire together.
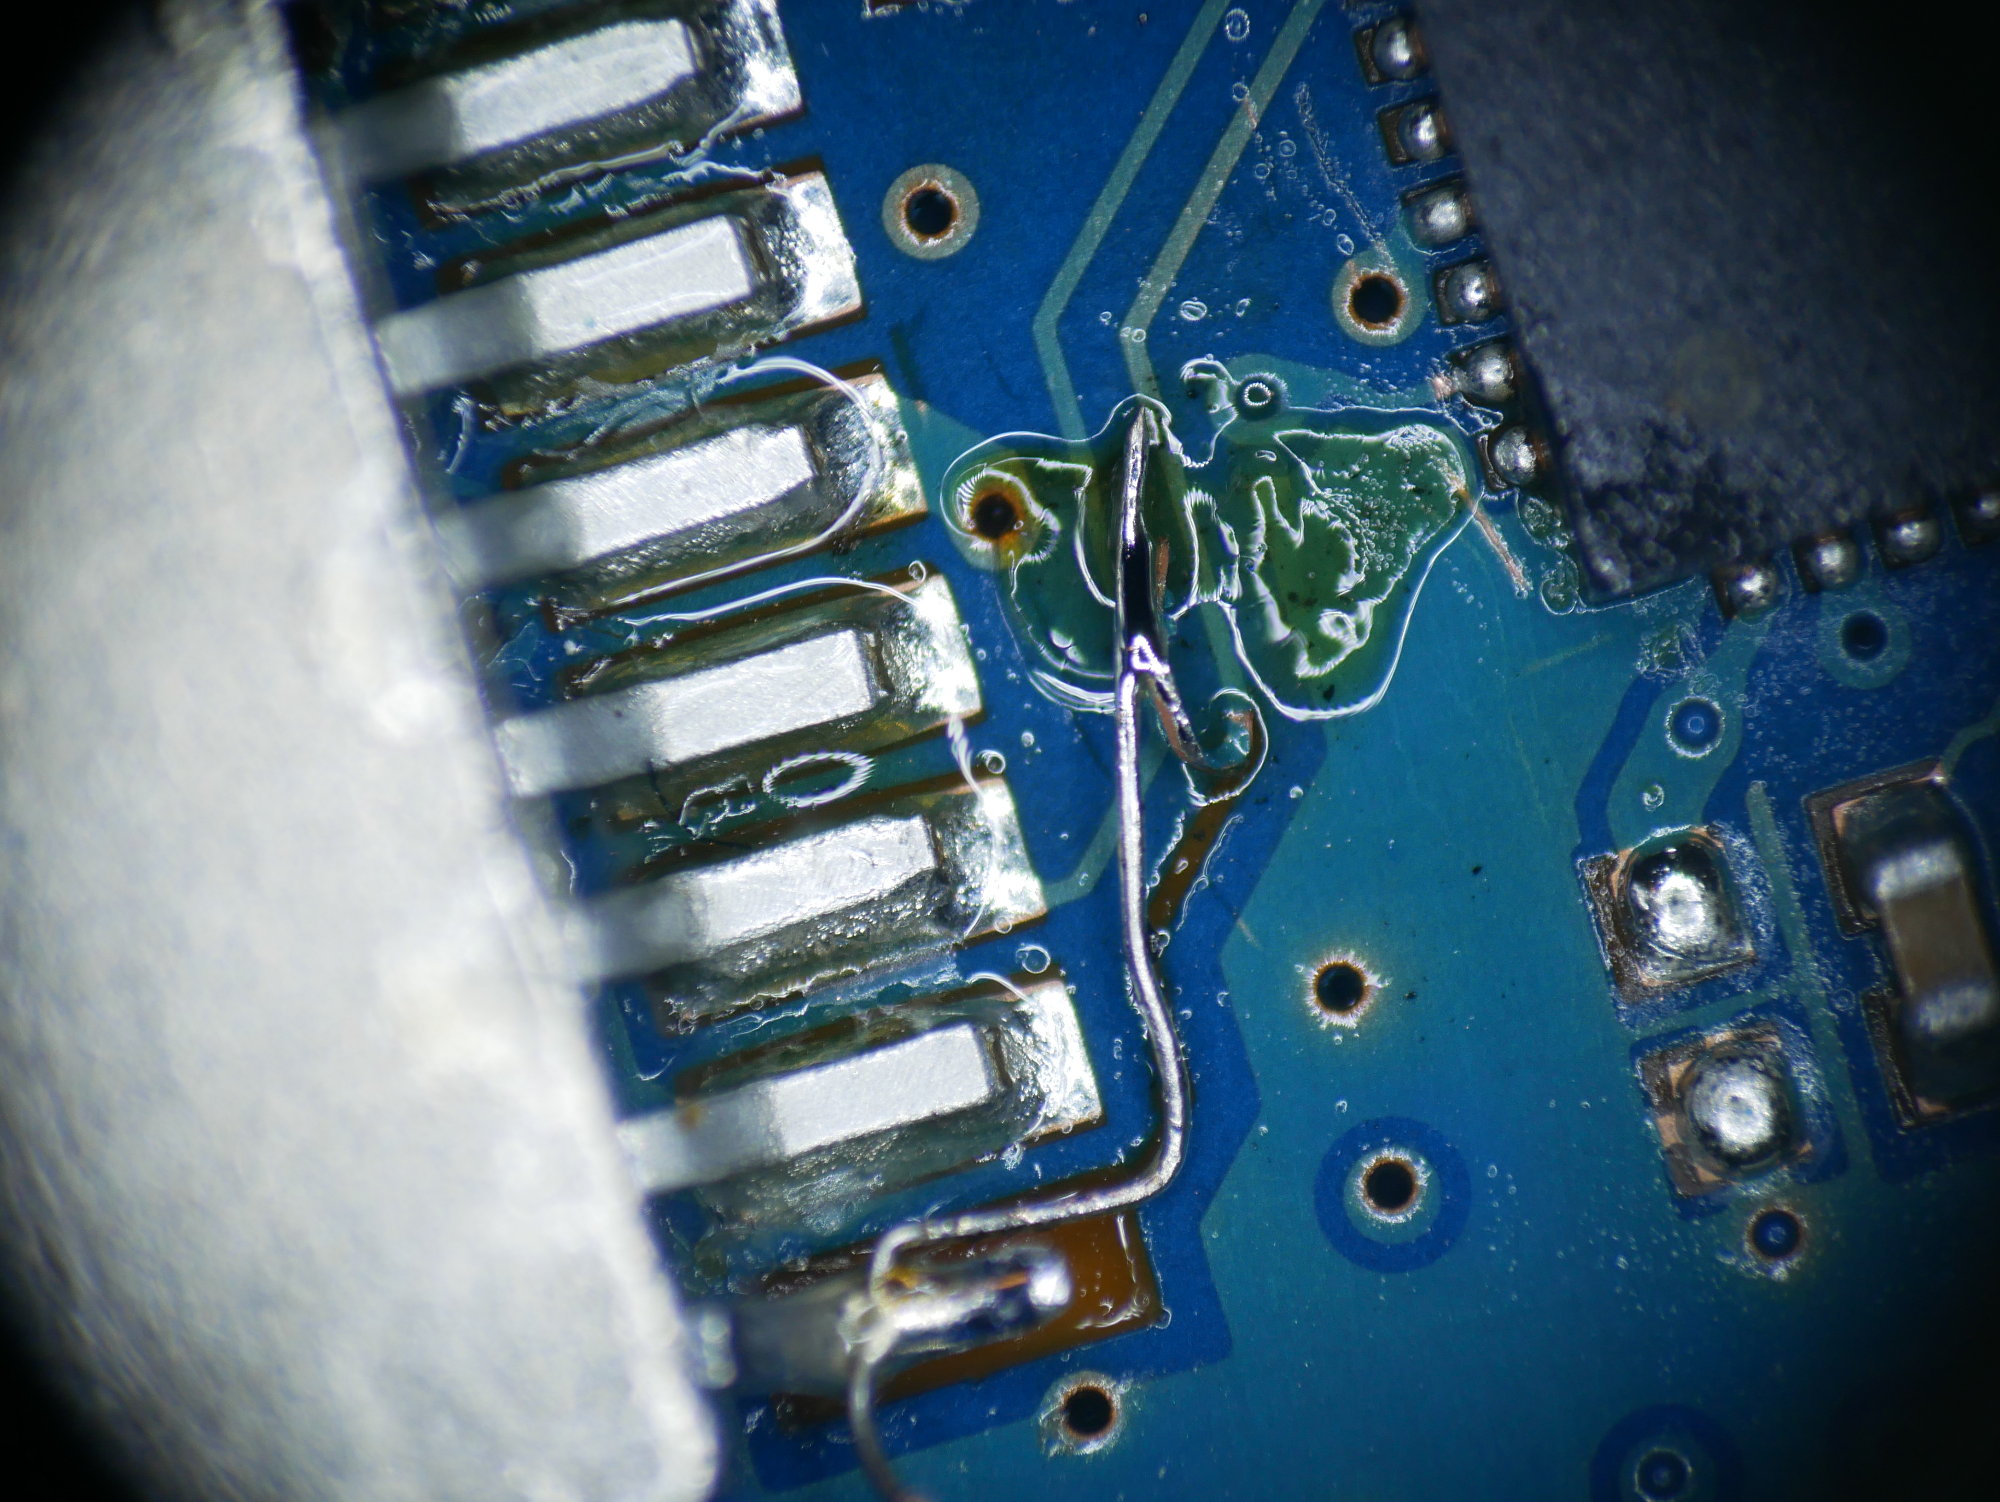
Here’s some more photos of it, after cleaning and from different angles.
Here’s one more picture of the whole thing.
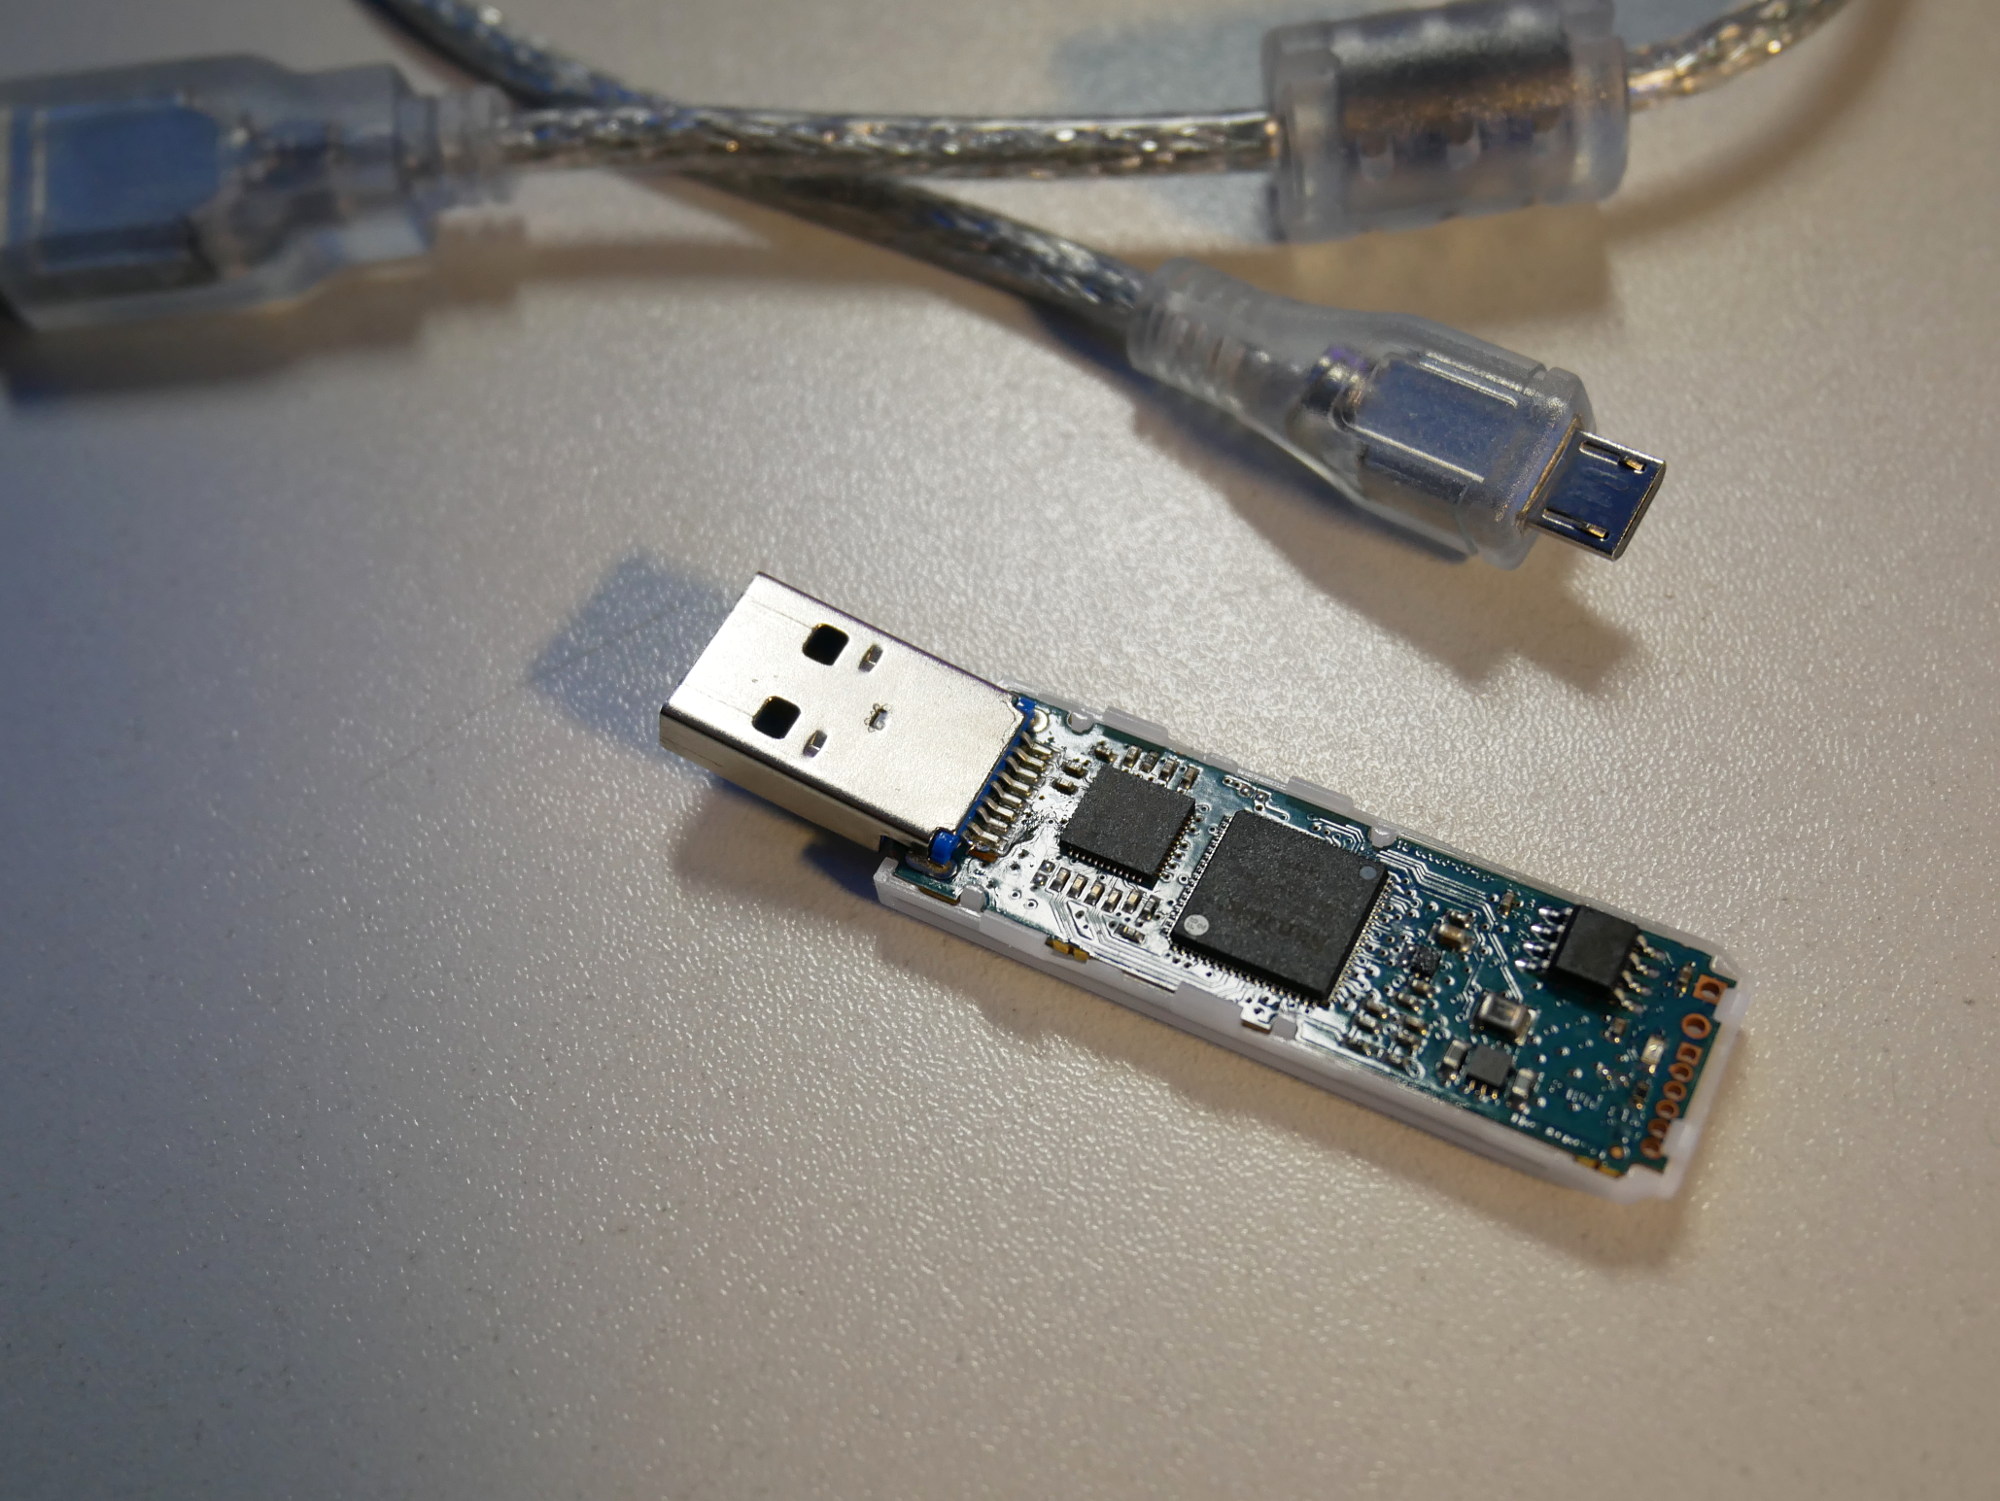
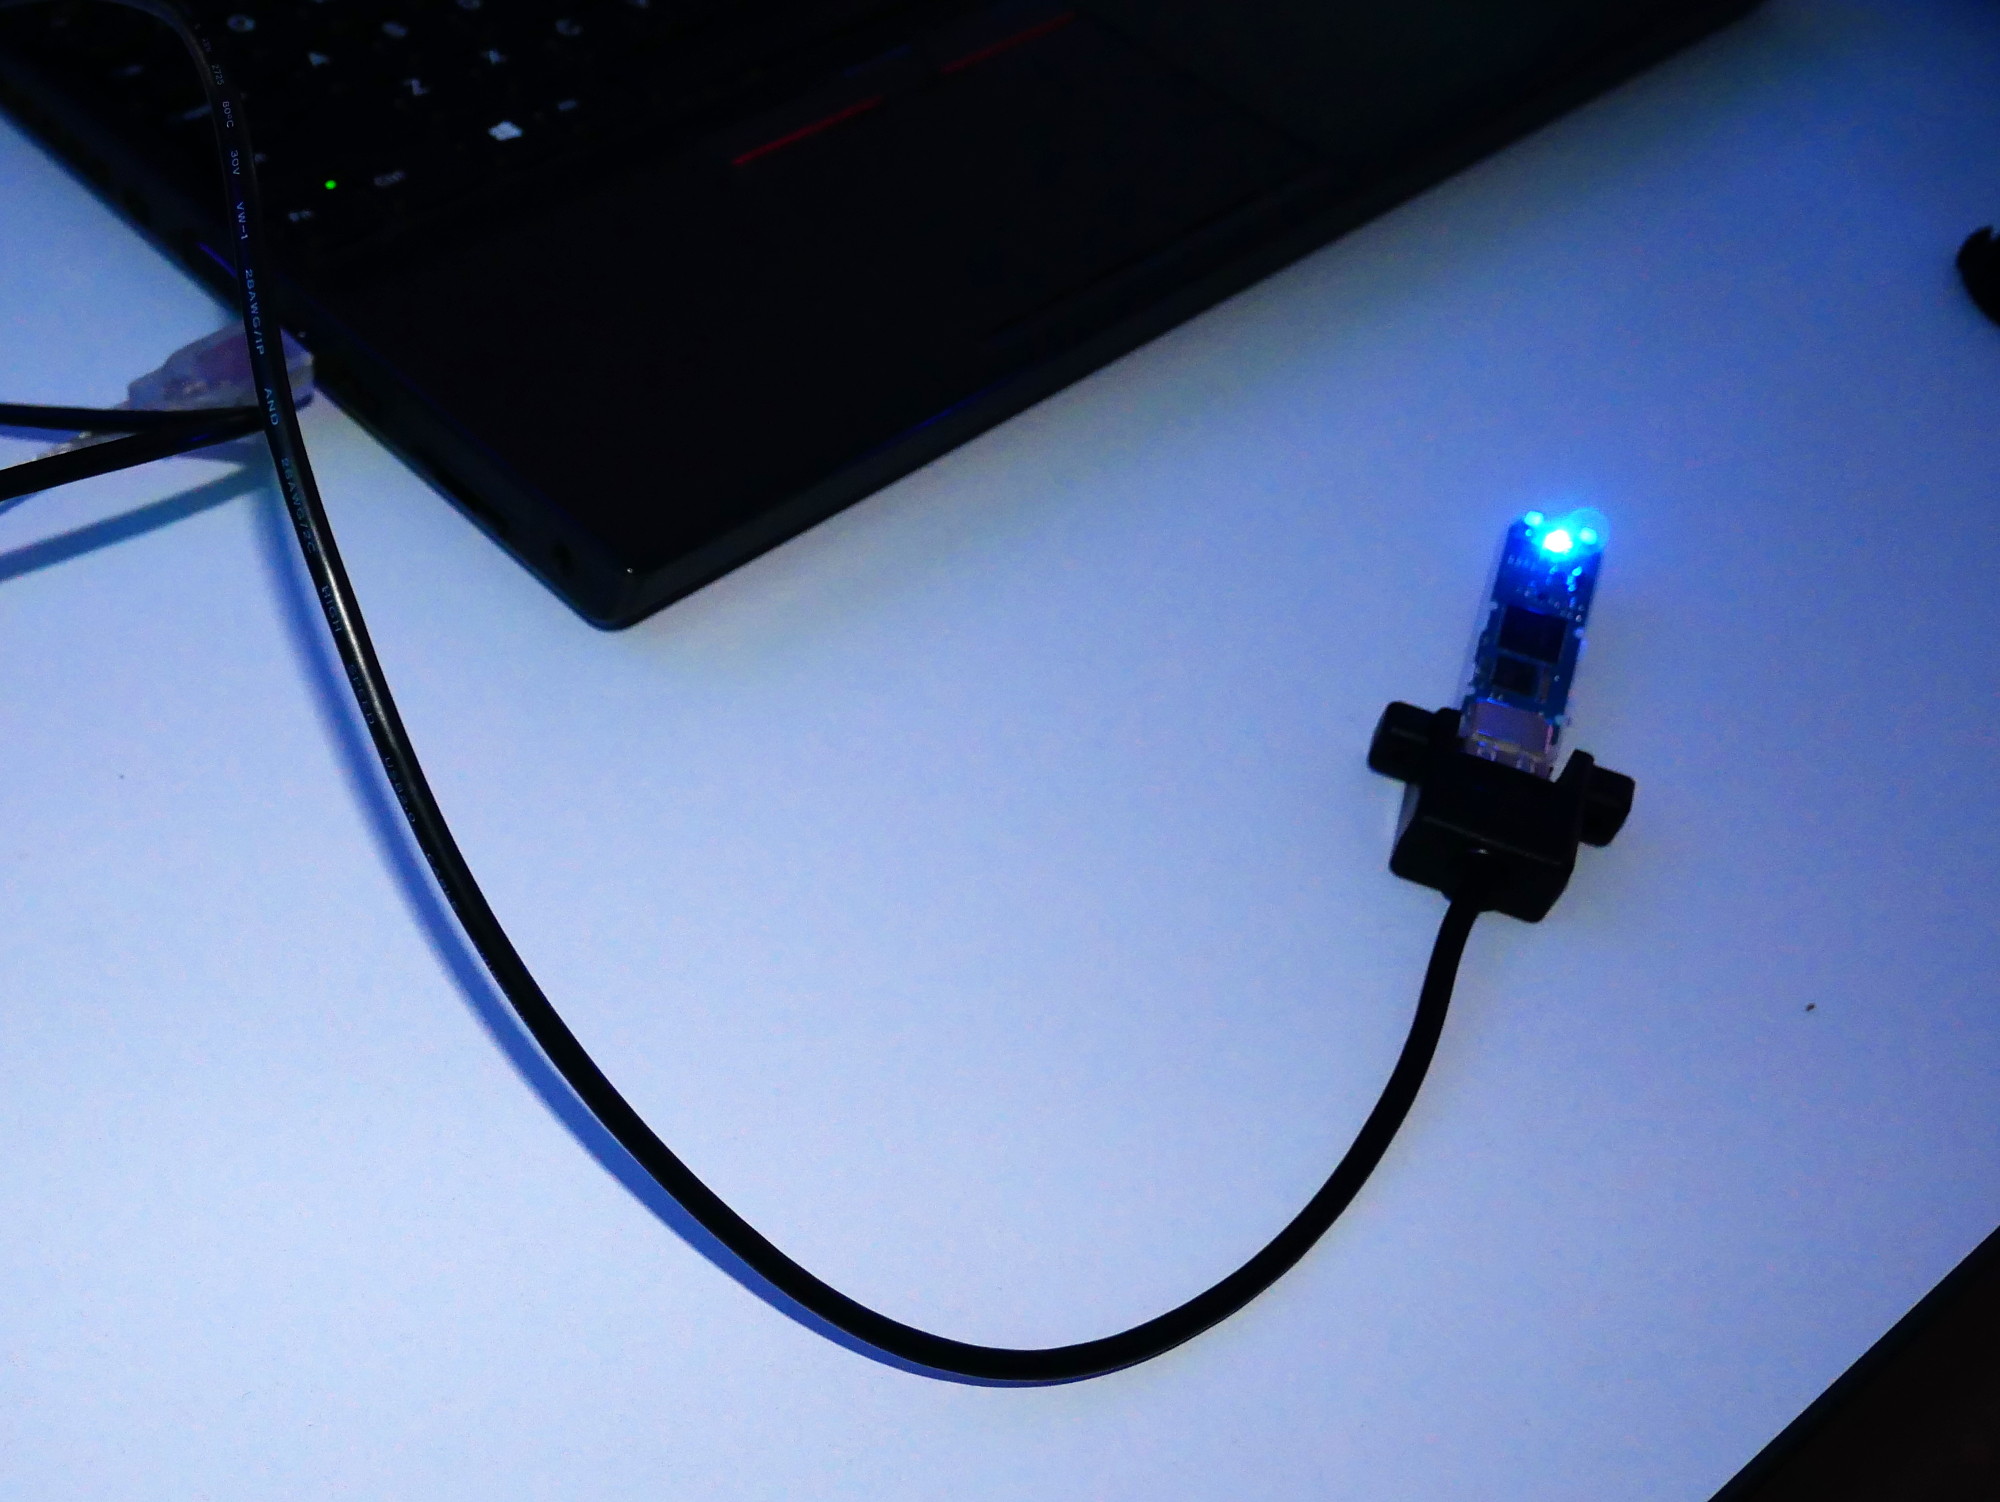
When plugged into the laptop now, it was discovered as a USB 3.0 device and read data at about 185MB/s - success!